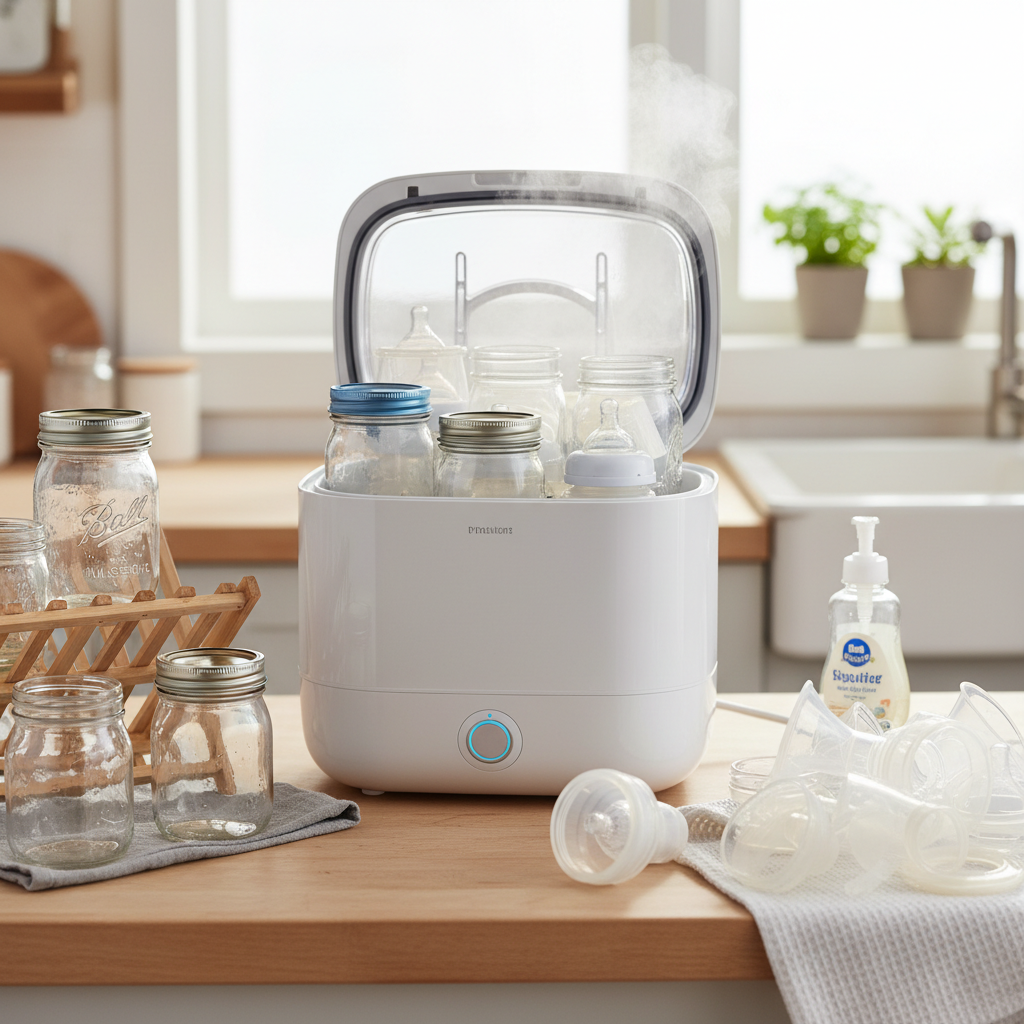
Ensuring your baby’s bottles are not only sterilized but also dried with clean air is paramount for their health and well-being. A dryer sterilizer is a marvel of modern parenting, offering convenience and peace of mind. However, like any appliance, it requires regular maintenance, especially its air filter. Neglecting this small but mighty component can compromise the hygiene of your baby’s feeding equipment, potentially exposing them to unwanted particles and even mold. This comprehensive guide will walk you through everything you need to know about cleaning your dryer sterilizer’s air filter, ensuring fresh, clean air for every bottle.
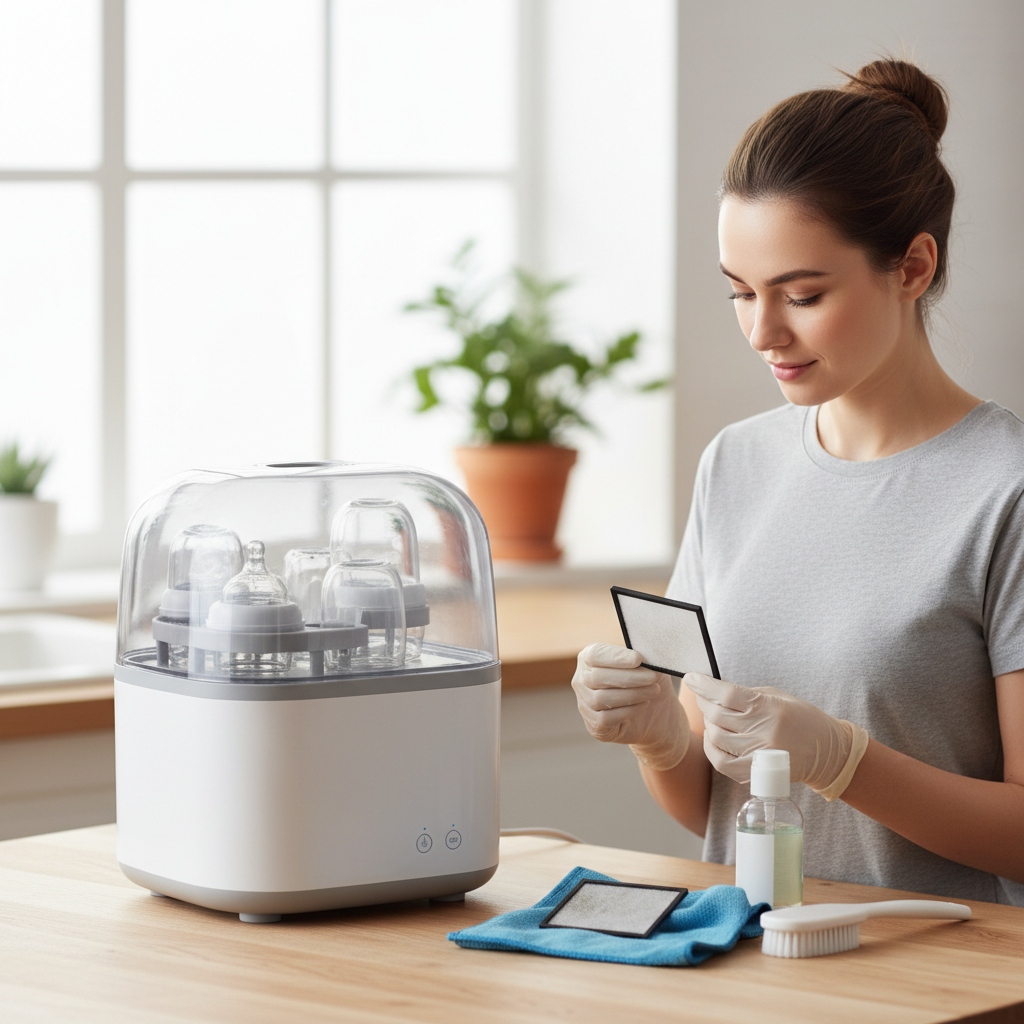
Why a Clean Air Filter is Crucial for Your Baby’s Health
The air filter in your dryer sterilizer plays a vital role beyond simply removing lint. During the drying cycle, it acts as a barrier, preventing dust, pet dander, and other airborne particles from entering the drying chamber and settling on freshly sterilized bottles. For infants with developing immune systems, exposure to these contaminants can be particularly concerning.
A dirty or clogged air filter can significantly impede the performance of your dryer sterilizer. It reduces airflow, which can lead to longer drying times, increased energy consumption, and, critically, a damp environment within the sterilizer. A moist, warm interior is an ideal breeding ground for mold and bacteria, negating the entire sterilization process. Regularly cleaning this filter ensures that only pure, clean air touches your baby’s bottles, offering the best protection for their delicate health.
Understanding Your Dryer Sterilizer’s Air Filter
Dryer sterilizers, particularly those designed for baby bottles, often feature multi-layered filtration systems to ensure the highest air quality. While specific designs vary by brand and model, you’ll typically encounter one or a combination of these filter types:
- Pre-filters (Foam or Mesh): These are usually the first line of defense, designed to capture larger particles like lint, dust, and pet hair. They are often washable and serve to extend the life of more delicate filters.
- HEPA Filters: High-Efficiency Particulate Air (HEPA) filters are capable of trapping 99.97% of airborne particles as small as 0.3 microns, including pollen, mold spores, dust mites, and some bacteria. Some HEPA filters are washable, while others are designed for replacement only.
- Activated Carbon Filters: These filters are excellent at absorbing odors, gases, and volatile organic compounds (VOCs). They are typically not washable and rely on chemical absorption, meaning they need replacement once saturated.
Always consult your appliance’s user manual to identify the specific type of filter(s) your dryer sterilizer uses and for manufacturer-specific cleaning instructions. This will ensure you maintain your unit correctly and preserve its warranty.
Step-by-Step Guide: Cleaning Your Dryer Sterilizer’s Air Filter
Maintaining your sterilizer’s air filter is a straightforward process that safeguards your baby’s health. Follow these steps carefully, adjusting for your specific filter type.
Preparation: Safety First
|
Our Picks for the Best Bottle sterilizer in 2026
As an Amazon Associate I earn from qualifying purchases.
|
||
| Num | Product | Action |
|---|---|---|
| 1 | Papablic Baby Bottle Sterilizer and Dryer Pro, Esterilizador De Biberones, Electric Steam Sterilizer for Baby Bottles, Pacifiers, and Pump Parts, Large Capacity 10 Bottles |

|
| 2 | Bear Bottle Sterilizer and Dryer, 2 Layers Large Electric Steam Baby Bottle Sterilizer, Fast Bottle Sanitizer and Dryer for All Bottles & Accessories, Time-Saving Design |
|
| 3 | Momcozy KleanPal Pro Baby Bottle Washer, Sterilizer & Dryer - All-in-One Cleaning Machine for Bottles, Pump Parts & Baby Essentials - Time-Saving & Effortless Care |
|
| 4 | Dr. Brown's All-in-One Sterilizer and Dryer for Baby Bottles, Parts and Other Newborn Essentials |
|
| 5 | Bottle Sterilizer, Baby Bottle Steam Sterilizer, Electric Baby Bottle Sanitizer with Timer for Baby Bottles, Pacifiers, Pump Parts |
|
| 6 | Momcozy 3 Layers Large Bottle Sterilizer and Dryer, Fast Sterilize and Dry, Universal Bottle Sterilizer for All Bottles & Breast Pump Accessories, Touch Screen & Auto-Off Bottle Sanitizer |
|
| 7 | Bottle Sterilizer and Dryer, 99.999% Deep Sterilization, 6-min Rapid Disinfection, Up to 12 Bottles, HEPA Filter, All-in-One for Baby Bottles, Breast Pump Parts & Newborn Essentials |
|
| 8 | Momcozy Bottle Sterilizer and Dryer, Modular Nesting Space Saving Design, 6 Bottles Capacity, 4 in 1 Compact Sterilizer for Baby Bottles, Breast Pump Parts & Newborn Essentials, Drying Rack Included |
|
| 9 | HEYVALUE Ease-Steam Bottle Sterilizer, Compact Baby Bottle Sterilizer, Fast One-Touch Operation (Esterilizador de Biberones), Electric Sterilizer for Baby Bottles, Baby Essentials & Breast Pump Parts |
|
| 10 | GROWNSY Bottle Sterilizer and Dryer, Compact Electric Steam Baby Bottle Sterilizer (Esterilizador de Biberones), Bottle Sanitizer for Baby Bottles, Pacifiers, Pump Parts |
|
Before you begin any cleaning, always prioritize safety.
- Unplug the Unit: Completely disconnect your dryer sterilizer from the power outlet. This prevents accidental activation and potential electrical hazards.
- Locate the Filter: Refer to your sterilizer’s user manual to find the air filter’s location. It’s often found in an accessible panel on the back, side, or bottom of the unit.
- Remove the Filter: Gently unlatch or unscrew any covers and carefully remove the filter. Some models may have a simple pull-out design. Inspect the filter for visible dirt, dust, and any signs of damage.
Method 1: Dry Cleaning (For All Filter Types)
Dry cleaning is suitable for all filter types, especially non-washable HEPA or activated carbon filters, and as a routine maintenance step for washable pre-filters.
- Vacuum Loose Debris: Use a vacuum cleaner with a soft brush attachment. Gently vacuum both sides of the filter, paying close attention to pleats or crevices where dust and lint accumulate. Be cautious not to apply excessive force, as filter materials can be delicate.
- Brush Away Stubborn Dirt: For any remaining stubborn dirt or matted lint, use a soft, dry brush or a clean paintbrush. Lightly brush the surface to dislodge particles without damaging the filter fibers.
Method 2: Wet Cleaning (For Washable Foam/Pre-filters Only)
If your sterilizer has a washable foam or mesh pre-filter, a deeper clean with water and mild soap is ideal.
- Rinse Under Running Water: Hold the foam filter under lukewarm running water. Gently squeeze and manipulate the filter to release trapped dirt and debris. Continue rinsing until the water runs clear.
- Wash with Mild Soap: Apply a small amount of mild dish soap or liquid detergent to the filter. Gently massage the soap through the material. Ensure the soap is mild, unscented, and free of harsh chemicals that could leave residue.
- Rinse Thoroughly: Rinse the filter thoroughly under running water until all soap residue is gone and the water runs completely clear. Any remaining soap could create suds during the next drying cycle or attract more dirt.
- Squeeze Out Excess Water: Gently press the foam filter to remove as much excess water as possible. Avoid twisting or wringing the filter aggressively, as this can tear or damage the material.
- Air Dry Completely: This is a critical step. Place the clean filter in a well-ventilated area to air dry completely. This typically takes 24 hours or more, depending on humidity. Never use a hairdryer, heat source, or put it back damp. A damp filter can quickly lead to mold or mildew growth, which can then be circulated into your baby’s sterilized bottles, posing a significant health risk. Ensure every part of the filter is bone dry before proceeding.
Reinstallation
Once the filter is thoroughly cleaned and, if wet-cleaned, completely dry:
- Inspect Again: Give the filter a final check for any lingering moisture or damage.
- Reinsert the Filter: Carefully place the filter back into its designated slot in the dryer sterilizer, ensuring it fits snugly according to the manufacturer’s design.
- Secure Covers: Close and secure any covers, latches, or screws that were removed.
- Plug In: Reconnect your dryer sterilizer to the power outlet.
How Often Should You Clean and Replace Your Air Filter?
The frequency of cleaning and replacement depends on the filter type, your sterilizer’s usage, and your home environment.
- Pre-filters (Foam/Mesh): Aim to clean these every 2-4 weeks with a dry vacuuming, and perform a deep wet clean monthly. With regular cleaning, these can last 1-2 years before needing replacement.
- HEPA Filters: Vacuum monthly. Most washable HEPA filters should be replaced after 12-18 months. Non-washable HEPA filters typically need replacement every 6-12 months.
- Activated Carbon Filters: These cannot be effectively cleaned and usually require replacement every 3-6 months, as their absorption capacity depletes over time.
Many modern dryer sterilizers have filter indicator lights that signal when cleaning or replacement is needed. However, if your unit lacks this feature, pay attention to these signs:
- Reduced Airflow: The drying cycle seems less effective, or takes significantly longer.
- Unusual Odors: A musty or unpleasant smell coming from the sterilizer during or after drying.
- Visible Dirt/Discoloration: The filter appears heavily soiled or discolored even after a quick dry clean.
- Decreased Performance: Overall, the sterilizer isn’t drying bottles as effectively as it used to.
Regular inspection (e.g., monthly) will help you catch these issues early and maintain optimal performance.
Important Tips for Optimal Sterilizer-Dryer Performance
Beyond the air filter, a few additional practices can significantly enhance your dryer sterilizer’s efficiency and longevity:
- Use Distilled Water: For steam sterilizers, using distilled water helps prevent mineral buildup (limescale) on the heating plate. While not directly related to the air filter, mineral deposits can affect the unit’s heating efficiency and lifespan.
- Pre-Clean Bottles Thoroughly: Always wash bottles, nipples, and accessories with warm, soapy water and rinse them thoroughly before placing them in the sterilizer. This prevents milk residue from burning onto the heating plate or causing unpleasant odors.
- Maintain Other Components: Regularly clean the heating plate, water tank, and other interior components of your sterilizer according to the manufacturer’s instructions. Descaling the heating plate with white vinegar or citric acid is often recommended.
- Keep the Sterilizer Area Clean: Place your sterilizer in a clean, dust-free area to minimize the amount of particles the air filter has to process. Ensure there’s adequate clearance around the unit for proper airflow.
Conclusion
A clean air filter in your dryer sterilizer is a non-negotiable step in providing the safest, most hygienic feeding environment for your baby. By understanding the different filter types, following a consistent cleaning schedule, and adhering to proper maintenance techniques, you can ensure your sterilizer-dryer operates at peak efficiency, delivering impeccably clean and dry bottles every time. This small effort provides significant peace of mind, knowing you’re protecting your little one from unseen contaminants. What steps will you take today to ensure your dryer sterilizer is truly pristine?
Frequently Asked Questions
Can I use a regular cloth or paper towel to clean the air filter?
While you can use a soft, dry cloth to wipe the exterior of the filter, a vacuum cleaner with a brush attachment is more effective for removing trapped dust and lint from the filter’s mesh or pleats. For washable foam filters, a soft brush or gentle squeezing under running water is best.
What happens if I put a damp air filter back into my dryer sterilizer?
Reinstalling a damp air filter can lead to mold and mildew growth within the sterilizer. This is a significant health hazard, as mold spores can then be circulated onto your baby’s sterilized bottles, potentially causing respiratory issues or other health problems. Always ensure the filter is completely dry before reinstallation.
How often should I replace the air filter in my dryer sterilizer?
Replacement frequency varies by filter type and usage. Washable pre-filters typically last 1-2 years, while HEPA filters need replacing every 6-18 months, and activated carbon filters every 3-6 months. Always check your specific manufacturer’s recommendations and replace sooner if you notice reduced performance or persistent odors.
Can I clean a non-washable HEPA filter with water?
No, non-washable HEPA filters should never be cleaned with water. Washing can damage the delicate fibers, destroying the filter’s ability to capture fine particles. For these types, gentle vacuuming with a soft brush attachment is the only recommended cleaning method to remove surface dust and extend their life slightly.
Why is my dryer sterilizer taking longer to dry bottles?
If your dryer sterilizer is taking longer than usual to dry bottles, a clogged air filter is a common culprit. A filter full of dust and lint restricts airflow, forcing the machine to work harder and longer to achieve the desired dryness. Cleaning or replacing the air filter will often resolve this issue.