As parents, we constantly strive to provide the safest and cleanest environment for our little ones. A bottle sterilizer is an invaluable tool in this effort, ensuring feeding equipment is free from harmful bacteria. However, even this essential appliance needs regular care to perform optimally. Over time, a silent adversary can build up inside your sterilizer: limescale. This article will guide you through effectively descaling your bottle sterilizer using white vinegar, a natural, safe, and highly effective solution.
Why Descale Your Bottle Sterilizer?
Regular descaling is crucial for maintaining both the effectiveness and longevity of your bottle sterilizer. Without it, mineral deposits can accumulate, hindering the sterilizer’s ability to eliminate harmful germs and potentially shortening its lifespan. Prioritizing this maintenance step helps ensure your baby’s bottles and accessories are always thoroughly sanitized, giving you much-needed peace of mind.
Understanding Limescale: The Silent Threat
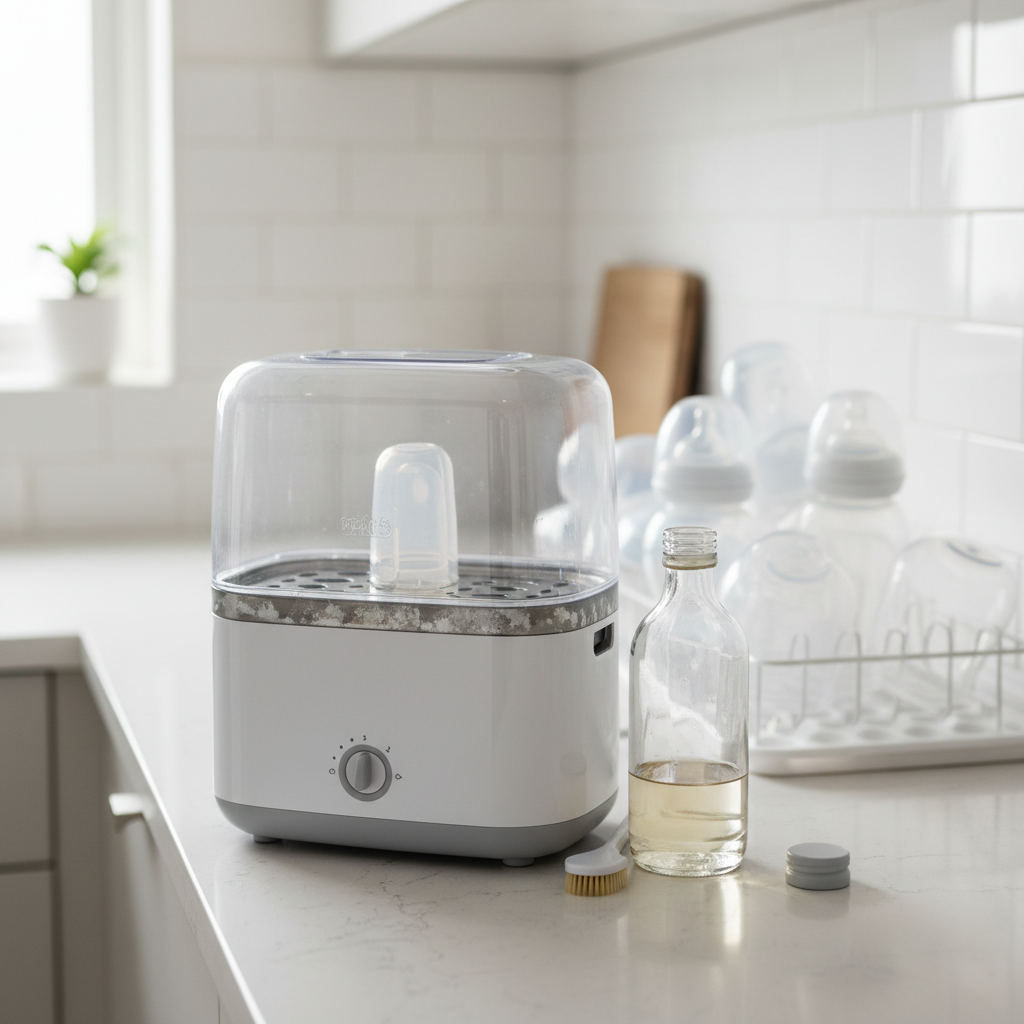
What exactly is limescale? It’s the white, chalky residue you often see in kettles or on showerheads, formed by mineral deposits—primarily calcium and magnesium—found in tap water. As water heats up and evaporates in your sterilizer, these minerals are left behind, gradually hardening into a stubborn layer.
This buildup isn’t just unsightly; it’s detrimental to your sterilizer’s performance. Limescale acts as an insulator, forcing the heating element to work harder and less efficiently. This can lead to slower sterilization cycles, uneven heating, and a reduced capacity to produce the powerful steam necessary for effective germ elimination. Ultimately, neglecting descaling can compromise your baby’s hygiene by allowing bacteria to survive and can even damage the appliance’s internal components over time. Furthermore, severe limescale can transfer to bottles, leaving a chalky film and potentially causing unpleasant odors. [cite: 3 (Why Descaling is Crucial for Your Baby’s Safety and Ap – Bubsie Family)]
Why Choose Vinegar for Descaling?
When it comes to tackling limescale, white vinegar stands out as an excellent choice. It is a natural, non-toxic, and incredibly cost-effective solution readily available in most households. Unlike harsh chemical descalers, vinegar poses minimal risk to your baby’s feeding equipment and the environment.
The secret to vinegar’s effectiveness lies in its acetic acid content. This mild acid reacts with the alkaline mineral deposits of limescale, breaking them down and allowing them to be easily rinsed away. It’s a gentle yet powerful cleaner, making it ideal for maintaining appliances that come into contact with baby items.
Step-by-Step Guide: Descaling Your Bottle Sterilizer with Vinegar
Descaling your bottle sterilizer with vinegar is a straightforward process that requires minimal effort. Follow these steps to restore your appliance to its optimal, germ-fighting condition.
Preparation
|
Our Picks for the Best Bottle sterilizer in 2026
As an Amazon Associate I earn from qualifying purchases.
|
||
| Num | Product | Action |
|---|---|---|
| 1 | Bottle Sterilizer and Dryer, 99.999% Deep Sterilization, 6-min Rapid Disinfection, Up to 12 Bottles, HEPA Filter, All-in-One for Baby Bottles, Breast Pump Parts & Newborn Essentials |

|
| 2 | GROWNSY Bottle Sterilizer and Dryer, Compact Electric Steam Baby Bottle Sterilizer (Esterilizador de Biberones), Bottle Sanitizer for Baby Bottles, Pacifiers, Pump Parts |
|
| 3 | Momcozy 3 Layers Large Bottle Sterilizer and Dryer, Fast Sterilize and Dry, Universal Bottle Sterilizer for All Bottles & Breast Pump Accessories, Touch Screen & Auto-Off Bottle Sanitizer |
|
| 4 | Bottle Sterilizer, Baby Bottle Steam Sterilizer, Electric Baby Bottle Sanitizer with Timer for Baby Bottles, Pacifiers, Pump Parts |
|
| 5 | Bear Bottle Sterilizer and Dryer, 2 Layers Large Electric Steam Baby Bottle Sterilizer, Fast Bottle Sanitizer and Dryer for All Bottles & Accessories, Time-Saving Design |
|
| 6 | Momcozy Bottle Sterilizer and Dryer, Modular Nesting Space Saving Design, 6 Bottles Capacity, 4 in 1 Compact Sterilizer for Baby Bottles, Breast Pump Parts & Newborn Essentials, Drying Rack Included |
|
| 7 | Papablic Baby Bottle Sterilizer and Dryer Pro, Esterilizador De Biberones, Electric Steam Sterilizer for Baby Bottles, Pacifiers, and Pump Parts, Large Capacity 10 Bottles |
|
| 8 | HEYVALUE Ease-Steam Bottle Sterilizer, Compact Baby Bottle Sterilizer, Fast One-Touch Operation (Esterilizador de Biberones), Electric Sterilizer for Baby Bottles, Baby Essentials & Breast Pump Parts |
|
| 9 | Momcozy KleanPal Pro Baby Bottle Washer, Sterilizer & Dryer - All-in-One Cleaning Machine for Bottles, Pump Parts & Baby Essentials - Time-Saving & Effortless Care |
|
| 10 | Dr. Brown's All-in-One Sterilizer and Dryer for Baby Bottles, Parts and Other Newborn Essentials |
|
Before you begin, ensure your sterilizer is unplugged and completely cool. Remove all bottles, accessories, and any removable trays or baskets from the unit. These items can be washed separately with warm, soapy water.
Create the Vinegar Solution
For most cleaning situations, a 1:1 ratio of white vinegar to water is effective. For instance, if your sterilizer typically uses 100ml of water for a cycle, mix 100ml of white vinegar with 100ml of water. For heavier limescale buildup, some experts suggest using a stronger solution, such as 1 part vinegar to 2 parts water, or even undiluted vinegar directly on the heating plate for a short period. Always use plain white vinegar, as other types may contain sugars or colors that could leave residue.
Apply and Soak
Pour the prepared vinegar and water solution directly onto the heating plate or into the water reservoir of your sterilizer. Ensure the solution covers any visible limescale.
Now, let the magic happen! Allow the solution to soak for at least 30 minutes to an hour. For stubborn or thick limescale deposits, you might extend the soaking time to a few hours, or even overnight. While some manufacturers suggest running a full cycle with the vinegar solution, many recommend simply letting it soak to dissolve the scale without heating, followed by plain water cycles. Check your specific sterilizer’s manual for precise instructions.
Drain and Rinse
Once the soaking time is complete, carefully pour out the vinegar solution from the sterilizer. You may notice dissolved mineral particles or a cloudy liquid, indicating the vinegar has worked its wonders. Use a soft, damp cloth to gently wipe away any remaining loose limescale from the heating plate and interior surfaces. Avoid using abrasive scrubbers, which can scratch the surface of your sterilizer. [cite: 2 (How to Clean a Bottle Sterilizer in Simple Steps – Papablic)]
Rinse Cycles
To eliminate any residual vinegar smell or taste, it’s crucial to run several rinse cycles with plain, clean water. Fill the water reservoir with fresh water (according to your sterilizer’s usual operating amount) and run a complete sterilization cycle. Repeat this process at least two to three times. This ensures that no vinegar scent or residue will transfer to your baby’s bottles. [cite: 1, 1 (Vinegar descaling bottle sterilizer safety tips)]
Final Check
After completing the rinse cycles, inspect the heating plate and interior for any remaining limescale. It should now appear clean and free of chalky deposits. Your bottle sterilizer is now ready to safely and efficiently sterilize your baby’s feeding essentials once more.
Vinegar Descaling Tips and Best Practices
To ensure a safe and effective descaling process, keep these practical tips in mind:
- Consult Your Manual: Always refer to your bottle sterilizer’s instruction manual before descaling. Manufacturers often provide specific recommendations for cleaning and descaling, which may include preferred methods or cautions specific to your model.
- Ventilation is Key: Vinegar has a distinct odor. Ensure you descale in a well-ventilated area or open a window to dissipate the smell.
- Avoid Abrasive Materials: Stick to soft cloths or sponges for wiping. Abrasive scrubbers, steel wool, or harsh brushes can scratch the sterilizer’s surfaces, potentially causing damage or creating areas where residue can cling.
- Use White Vinegar: Specifically use white distilled vinegar. Other types like apple cider vinegar might contain residues or sugars that could leave unwanted deposits or stains.
- Don’t Mix Cleaners: Never mix vinegar with other cleaning agents, especially bleach, as this can create dangerous fumes.
How Often Should You Descale Your Bottle Sterilizer?
The frequency of descaling depends largely on how often you use your sterilizer and the hardness of your tap water. If you live in an area with hard water, limescale will accumulate more quickly, requiring more frequent descaling.
General guidelines suggest:
- Monthly: For daily sterilizer use and moderately hard water. [cite: 1, 5 (How often to descale bottle sterilizer)]
- Every 1-2 Weeks: If you have very hard water or notice visible limescale buildup quickly. Some even suggest every 3-4 weeks for “aggressive scaling” with hard water. [cite: 1, 2, 5 (How often to descale bottle sterilizer)]
- Every 4 Weeks: As a general recommendation for maintaining a bacteria and germ-free sterilizer. [cite: 1, 5 (How often to descale bottle sterilizer)]
Visually inspect your sterilizer’s heating plate regularly. If you see a white, chalky film or residue forming, it’s a clear sign that descaling is due. Don’t wait until the buildup is severe, as it can be harder to remove and may have already impacted performance.
Alternative Descaling Methods
While vinegar is a fantastic natural option, other methods exist for descaling if it’s not preferred or suitable for your specific sterilizer:
- Citric Acid: A popular alternative, citric acid is a natural, food-grade powder that also effectively breaks down limescale. It’s often mixed with water (e.g., 5g citric acid with 100ml water) and left to soak. [cite: 4 (How to Descale Your Bottle Sterilizer with Vinegar)]
- Commercial Descalers: Many brands offer specialized descaling solutions designed for baby bottle sterilizers. These are formulated to be safe for such appliances and often come with precise instructions.
- Baking Soda: For very light limescale or regular maintenance, baking soda can be used as a gentle, odorless option. [cite: 2 (How to Clean a Bottle Sterilizer in Simple Steps – Papablic)]
Always ensure any alternative method you choose is explicitly safe for your specific model of bottle sterilizer by consulting the manufacturer’s manual.
Maintaining Your Bottle Sterilizer for Longevity
Descaling is a critical part of sterilizer maintenance, but a few other habits can help extend its life and ensure consistent performance:
- Daily Wipe Down: After each use, once the sterilizer has cooled, wipe the interior with a clean, dry cloth to remove any residual moisture. This prevents water spots and minimizes the chance of scale formation. [cite: 2 (How to Clean a Bottle Sterilizer in Simple Steps – Papablic)]
- Clean Removable Parts: Regularly wash trays, lids, and bottle holders with warm, soapy water to remove milk or formula residue.
- Consider Filtered Water: If you have exceptionally hard water, using filtered or distilled water in your sterilizer can significantly slow down limescale buildup, reducing the frequency with which you need to descale.
Important Safety Precautions
When descaling your bottle sterilizer, always prioritize safety:
- Unplug Before Cleaning: Ensure the appliance is unplugged from the power source before adding any cleaning solutions or wiping surfaces.
- Allow Cooling: Never handle a hot sterilizer. Let it cool completely before cleaning to prevent burns.
- Keep Out of Reach: Store vinegar and any other cleaning agents safely out of reach of children.
- Avoid Eye/Skin Contact: While vinegar is natural, direct contact with concentrated vinegar can cause irritation. If it gets into your eyes, rinse thoroughly with water.
- Thorough Rinsing: As mentioned, meticulous rinsing is essential to remove all traces of vinegar before sterilizing baby bottles again.
“A well-maintained bottle sterilizer is paramount for infant health. Limescale buildup, if ignored, can turn this essential hygiene tool into a potential breeding ground for germs and significantly reduce its efficiency. Regular descaling ensures maximum protection for your baby.” – Dr. Eleanor Vance, Pediatric Health Specialist
Conclusion
Descaling your bottle sterilizer with vinegar is a simple, effective, and safe way to keep this vital piece of baby equipment functioning perfectly. By regularly removing limescale, you not only prolong the life of your appliance but, more importantly, ensure that every bottle and accessory your baby uses is truly hygienic and safe. Making this small task a consistent part of your routine provides invaluable peace of mind, knowing you’re offering your child the best possible start. How often will you check your sterilizer for limescale this week?
Frequently Asked Questions
Can I use any type of vinegar to descale my bottle sterilizer?
It is highly recommended to use plain white distilled vinegar for descaling your bottle sterilizer. Other types of vinegar, such as apple cider vinegar, may contain sugars or colorings that could leave residues or stains in your appliance. White vinegar is pure and effective for breaking down mineral deposits.
How do I know if my bottle sterilizer needs descaling?
The most common sign that your sterilizer needs descaling is the appearance of white, chalky residue on the heating plate or inside the water reservoir. You might also notice longer sterilization cycles, reduced steam output, or a strange odor, all of which indicate mineral buildup.
Is it safe to run a sterilization cycle with the vinegar solution inside?
While some manufacturers’ instructions might suggest running a cycle with the vinegar solution, many recommend simply letting the solution soak to dissolve the limescale. Always check your specific sterilizer’s manual for guidance. If you run a cycle with vinegar, ensure multiple plain water rinse cycles follow to eliminate any smell or taste.
What happens if I don’t descale my bottle sterilizer regularly?
If you don’t descale regularly, limescale can build up on the heating element, reducing the sterilizer’s efficiency and making it work harder. This can lead to ineffective sterilization, meaning germs may not be fully eliminated, and can also shorten the lifespan of your appliance.
Can the vinegar smell linger on bottles after descaling?
If the sterilizer is not thoroughly rinsed after descaling, a faint vinegar smell or taste can linger. It is crucial to run at least two to three full sterilization cycles with plain, fresh water after draining the vinegar solution to completely eliminate any residual odor.