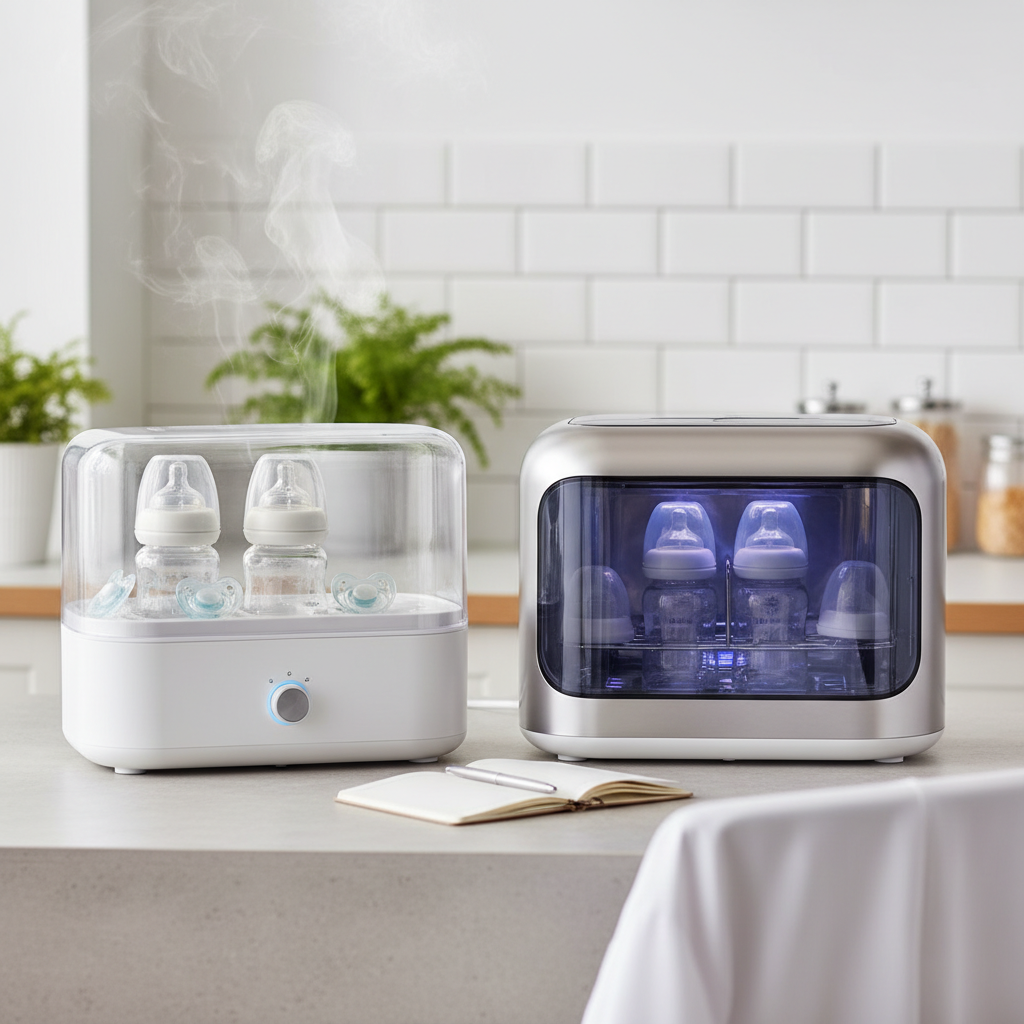
Welcoming a newborn into your home is a joyous occasion filled with countless new experiences, from the first cuddle to the first feeding. Amidst the wonder, many new parents find themselves pondering a critical question: how often should you sterilize baby bottles? Ensuring your baby’s feeding equipment is immaculately clean is paramount, especially when their tiny immune systems are still developing. This guide aims to demystify bottle sterilization, providing clear, age-specific recommendations and outlining the most effective methods to keep your little one safe and healthy.
Why Bottle Sterilization Matters for Your Little One
The early months of a baby’s life are a period of rapid development, and their immune systems are still immature. This makes them particularly vulnerable to harmful bacteria, viruses, and fungi that can thrive in milk residue left in bottles, nipples, and other feeding accessories. While thorough washing with soap and water removes visible dirt and most germs, sterilization goes a step further, eliminating virtually all harmful microorganisms. It provides an essential layer of protection against infections that could lead to upset stomachs, diarrhea, or more serious illnesses.
It’s crucial to understand the distinction between cleaning, sanitizing, and sterilizing. Cleaning physically removes dirt and some germs using soap and water. Sanitizing significantly reduces the number of germs, often by 99.9%, as achieved by a dishwasher with a hot water or sanitizing cycle. Sterilizing, however, aims to destroy nearly all forms of microbial life, offering the highest level of germ elimination for your baby’s feeding equipment.
When to Sterilize Baby Bottles: Age-Specific Guidelines
The frequency of bottle sterilization isn’t a one-size-fits-all answer; it largely depends on your baby’s age, health, and specific circumstances.
Newborns (0-3 Months)
|
Our Picks for the Best Bottle sterilizer in 2026
As an Amazon Associate I earn from qualifying purchases.
|
||
| Num | Product | Action |
|---|---|---|
| 1 | Bottle Sterilizer, Baby Bottle Steam Sterilizer, Electric Baby Bottle Sanitizer with Timer for Baby Bottles, Pacifiers, Pump Parts |

|
| 2 | Dr. Brown's All-in-One Sterilizer and Dryer for Baby Bottles, Parts and Other Newborn Essentials |
|
| 3 | Momcozy KleanPal Pro Baby Bottle Washer, Sterilizer & Dryer - All-in-One Cleaning Machine for Bottles, Pump Parts & Baby Essentials - Time-Saving & Effortless Care |
|
| 4 | Momcozy Bottle Sterilizer and Dryer, Modular Nesting Space Saving Design, 6 Bottles Capacity, 4 in 1 Compact Sterilizer for Baby Bottles, Breast Pump Parts & Newborn Essentials, Drying Rack Included |
|
| 5 | Momcozy 3 Layers Large Bottle Sterilizer and Dryer, Fast Sterilize and Dry, Universal Bottle Sterilizer for All Bottles & Breast Pump Accessories, Touch Screen & Auto-Off Bottle Sanitizer |
|
| 6 | Papablic Baby Bottle Sterilizer and Dryer Pro, Esterilizador De Biberones, Electric Steam Sterilizer for Baby Bottles, Pacifiers, and Pump Parts, Large Capacity 10 Bottles |
|
| 7 | Bottle Sterilizer and Dryer, 99.999% Deep Sterilization, 6-min Rapid Disinfection, Up to 12 Bottles, HEPA Filter, All-in-One for Baby Bottles, Breast Pump Parts & Newborn Essentials |
|
| 8 | HEYVALUE Ease-Steam Bottle Sterilizer, Compact Baby Bottle Sterilizer, Fast One-Touch Operation (Esterilizador de Biberones), Electric Sterilizer for Baby Bottles, Baby Essentials & Breast Pump Parts |
|
| 9 | GROWNSY Bottle Sterilizer and Dryer, Compact Electric Steam Baby Bottle Sterilizer (Esterilizador de Biberones), Bottle Sanitizer for Baby Bottles, Pacifiers, Pump Parts |
|
| 10 | Bear Bottle Sterilizer and Dryer, 2 Layers Large Electric Steam Baby Bottle Sterilizer, Fast Bottle Sanitizer and Dryer for All Bottles & Accessories, Time-Saving Design |
|
For newborns, premature babies, or infants with weakened immune systems, rigorous sterilization is critical. Their undeveloped immune defenses make them highly susceptible to infections. Health experts generally recommend sterilizing bottles, nipples, and other feeding equipment after every use or at least once daily during this period. This continuous vigilance helps protect them from pathogens that could cause severe illness. It’s a small but significant effort to safeguard their delicate health.
Babies 3-6 Months
As your baby grows beyond the three-month mark, their immune system begins to mature and strengthen. At this stage, you can often reduce the frequency of sterilization. Many parents transition to sterilizing bottles daily or every 2-3 days, provided that the bottles are meticulously cleaned with hot, soapy water immediately after each feeding. The focus shifts slightly towards ensuring thorough cleaning, with sterilization offering an extra layer of reassurance.
Babies 6+ Months (and Beyond)
For older, healthy babies, the need for frequent sterilization typically diminishes further. Once your baby is actively exploring their environment, putting toys and hands in their mouth, their exposure to everyday germs naturally increases, further bolstering their immune system. For these babies, weekly sterilization is often considered sufficient if all feeding items are cleaned carefully after every use. Some health organizations and pediatricians suggest that daily sterilization may no longer be necessary for healthy babies past a certain age, relying primarily on diligent cleaning.
Special Circumstances: When to Increase Frequency
There are specific situations where you should increase the frequency of sterilization, regardless of your baby’s age:
- Illness: If your baby is sick with a viral or bacterial infection, increased sterilization helps prevent reinfection and the spread of germs.
- Weakened Immune System: Babies with chronic health conditions or those undergoing certain medical treatments may have compromised immune systems, requiring more frequent sterilization for ongoing protection.
- Contaminated Water Supply: If you live in an area with a questionable water supply, sterilizing bottles provides an essential safeguard.
- Travel and Public Places: When traveling or using bottles in environments with higher germ exposure, it’s wise to sterilize more frequently.
- Prolonged Exposure: If a bottle has been left with milk or formula at room temperature beyond the recommended safe time, sterilization is necessary after cleaning.
When Can You Stop Sterilizing Baby Bottles?
The question of when to cease sterilizing bottles is a common one, and recommendations can vary. Some organizations, like the Centers for Disease Control and Prevention (CDC), suggest that daily sanitizing (which is a step below sterilization) may only be necessary until a baby is around 3 months old, especially for healthy, full-term infants. They emphasize diligent cleaning after this point. In contrast, other health bodies, such as the National Health Service (NHS) in the UK, advise continuing to sterilize all feeding equipment until a baby is at least 12 months old to protect against infections like diarrhea and vomiting.
This divergence in guidelines often leaves parents feeling uncertain. Ultimately, the decision to stop or reduce sterilization frequency depends on several factors: your baby’s overall health, their age, their immune system development, and your comfort level. As your baby approaches their first birthday, and their immune system becomes more robust, many parents gradually transition away from regular sterilization. It’s always best to consult your pediatrician for personalized advice tailored to your baby’s specific needs and health profile.
Common Baby Bottle Sterilization Methods
Parents today have a variety of effective and convenient methods for sterilizing baby bottles. Each method offers unique benefits, allowing you to choose what best fits your lifestyle and preferences.
Boiling Water Method
The boiling method is one of the oldest, simplest, and most economical ways to sterilize baby bottles. It requires no special equipment beyond a pot and stove.
- How it Works: Disassembled bottle parts are fully submerged in boiling water for at least five minutes.
- Advantages: Inexpensive, highly effective, accessible to everyone.
- Disadvantages: Requires constant supervision, bottles remain wet, can potentially shorten the lifespan of some plastic bottle components over time.
Steam Sterilizers (Electric/Microwave)
Steam sterilizers are a popular choice for their efficiency and ease of use, often becoming a cornerstone of daily bottle hygiene.
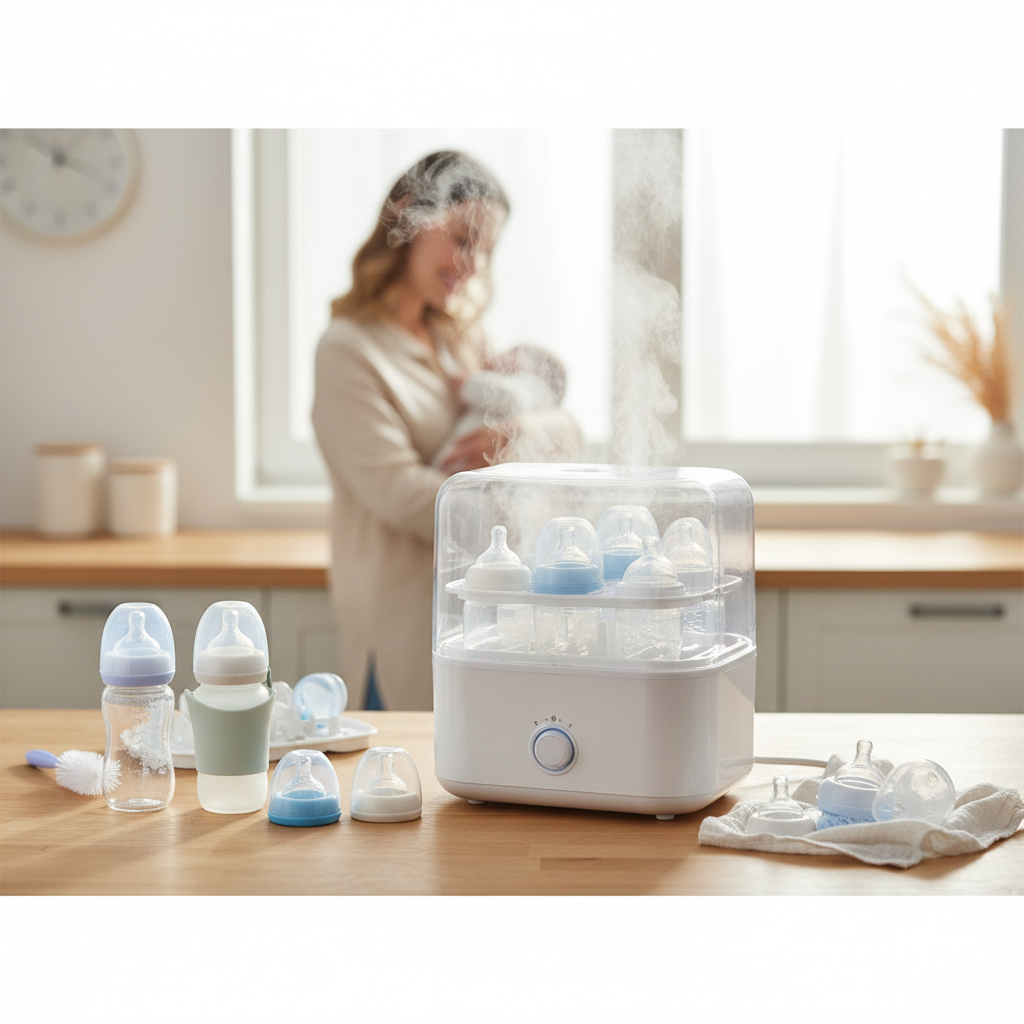
- Electric Steam Sterilizers: These countertop appliances use electricity to heat water and create steam, sterilizing bottles in minutes. Many models also include a drying function, which is a significant time-saver.
- Microwave Steam Sterilizers: These compact units are placed in your microwave, using its power to generate steam for quick sterilization. They are excellent for small kitchens or travel.
- Advantages: Fast, effective, many electric models offer drying, convenient.
- Disadvantages: Can be an upfront investment, requires descaling, microwave models need a compatible microwave.
UV Sterilizers
UV sterilizers utilize ultraviolet light to kill germs, offering a waterless and heatless sterilization option.
- How it Works: UV-C light disrupts the DNA of bacteria and viruses, rendering them inactive.
- Advantages: No water or chemicals needed, no heat, quick cycles, often doubles as a storage unit, effective against a wide range of pathogens.
- Disadvantages: Higher cost, UV bulbs need periodic replacement, can be bulky, efficacy depends on direct UV exposure to all surfaces.
Cold Water / Chemical Sterilization
This method involves immersing bottles in a cold water solution mixed with sterilizing tablets or liquid. It’s particularly useful for travel or when electricity is unavailable.
- How it Works: Chemical solutions (like Milton tablets) are dissolved in cold water, and cleaned bottles are submerged for a minimum of 30 minutes. The solution should be changed every 24 hours.
- Advantages: No heat or electricity required, portable, effective.
- Disadvantages: Bottles can have a slight chemical odor or taste if not prepared correctly, requires precise measurement of chemicals, solution needs regular changing.
Dishwasher Sanitizing
Many modern dishwashers include a “sanitize” cycle that uses high temperatures to reduce germs.
- How it Works: Place disassembled bottles and parts on the top rack, ensuring small items are secured in a basket. Run a hot water cycle with a heated drying or sanitize option.
- Advantages: Convenient, reduces manual effort.
- Disadvantages: Not considered true sterilization (more sanitizing), some bottle materials may not be dishwasher-safe, can lead to plastic degradation over time, may not thoroughly dry all components.
Comparison Table: Sterilization Methods at a Glance
| Feature | Boiling Water | Electric Steam Sterilizer | Microwave Steam Sterilizer | UV Sterilizer | Cold Water/Chemical |
|---|---|---|---|---|---|
| Price | Very Low | Moderate-High | Low-Moderate | High | Low |
| Sterilization Time | ~5-10 minutes | ~6-12 minutes | ~2-8 minutes | ~5-15 minutes | ~30 minutes |
| Effectiveness | High | Very High | Very High | Very High | High |
| Convenience | Low (manual) | High (automated) | Medium-High (quick) | High (waterless) | Medium (soaking) |
| Drying Function | No | Often included | No (air dry needed) | Often included | No (air dry needed) |
Essential Buying Guide: Choosing a Bottle Sterilizer
Selecting the right bottle sterilizer can make your daily routine much smoother. Consider these important criteria:
- Capacity: How many bottles do you need to sterilize at once? If you feed frequently or have twins, a larger capacity unit will save you time.
- Size and Space: Countertop space is precious. Measure your available area to ensure the sterilizer fits comfortably in your kitchen.
- Material: Opt for sterilizers made from safe, BPA-free materials. Many plastic bottles can withstand sterilization, but check manufacturer guidelines. Glass or silicone bottles are also excellent options for durability.
- Features:
- Drying Function: A sterilizer with an integrated dryer is a game-changer, eliminating the need for air-drying racks.
- Auto Shut-off: For safety and energy conservation.
- Timer/Delay Start: Adds flexibility to your schedule.
- Storage: Some sterilizers double as storage for sterilized items, keeping them clean until needed.
- Brand Reputation and Warranty: Choose reputable brands known for quality and customer service. A good warranty provides peace of mind.
- Price: Sterilizers range in price. Balance your budget with the features and convenience you desire. An expensive model isn’t always necessary, but investing in a reliable one can be worthwhile.
Step-by-Step Guide: Best Practices for Bottle Sterilization
Regardless of the method you choose, a consistent routine ensures maximum effectiveness:
- Pre-Cleaning is Key: Always wash bottles, nipples, rings, caps, and pump parts thoroughly with hot, soapy water immediately after each use. Use a dedicated bottle brush and nipple brush to remove all milk residue.
- Disassemble Everything: Break down all bottle components into individual parts. This ensures that steam, boiling water, or UV light can reach every surface.
- Sterilize: Follow the specific instructions for your chosen method (boiling, steam, UV, or chemical). Ensure all items are fully submerged if using water-based methods, and there are no trapped air bubbles.
- Cooling: Allow items to cool completely before handling them. This is crucial for safety, especially with boiling or steam methods, to prevent burns.
- Air-Dry: Place sterilized items on a clean, unused dish towel or a dedicated drying rack in an area free from dust and dirt. Allow them to air-dry completely. Avoid using a cloth to wipe them dry, as this can transfer germs back onto the clean surfaces.
- Storage: Once thoroughly dry, store the sterilized items in a clean, covered container or reassemble the bottles with caps.
Important Notes for Safe Sterilization
To ensure both your baby’s safety and the longevity of your equipment, keep these crucial tips in mind:
- Always Read Instructions: Every sterilizer and bottle brand comes with specific instructions. Adhering to these is vital for effective sterilization and product safety.
- Clean First, Then Sterilize: Sterilization is not a substitute for cleaning. Bottles must be free of milk residue before being sterilized.
- No Mid-Cycle Opening: Never open a steam or boiling water sterilizer while it’s in operation to prevent severe burns from hot steam or water.
- Handle with Care: Use clean hands or tongs when removing sterilized items to avoid reintroducing germs.
- Avoid Over-Sterilization: While beneficial, excessive heat sterilization, especially for plastic bottles, can potentially accelerate wear and tear, and some studies suggest it might contribute to microplastic release. Consider material recommendations.
Conclusion
Navigating the world of baby care can feel overwhelming, but understanding bottle sterilization doesn’t have to be. By recognizing the critical role it plays in protecting your baby’s developing immune system, especially during the vulnerable newborn stage, you can confidently implement the right routine. Whether you opt for the traditional boiling method, the convenience of a steam sterilizer, or the modern technology of a UV unit, consistent pre-cleaning and adherence to your chosen method are key. As your little one grows and their immune system matures, you can adjust the frequency, always prioritizing their health and your peace of mind. Remember, when in doubt, your pediatrician is an invaluable resource for personalized guidance. What sterilization method has worked best for your family?
Frequently Asked Questions
Do I need to sterilize new bottles before first use?
Yes, it is highly recommended to sterilize all new baby bottles and their components before their very first use. This removes any potential manufacturing residues or contaminants.
Can I sterilize bottles in the dishwasher?
Dishwashers with a “sanitize” cycle can effectively sanitize bottles by using high temperatures to reduce germs. However, this is generally considered a higher level of cleaning than standard washing, but typically not full sterilization as achieved by boiling or dedicated sterilizers.
How long do sterilized bottles stay sterile?
Once sterilized, bottles are generally considered sterile as long as they remain in a sealed, clean container or in the sterilizer with the lid closed for up to 24 hours. Once removed or exposed to air, they are no longer considered sterile.
What is the primary difference between sanitizing and sterilizing?
Sanitizing significantly reduces the number of germs on a surface, typically by 99.9%. Sterilizing aims to eliminate virtually all microorganisms, providing a higher level of germ removal and protection.